Tuesday 31 July 2012

Lips to love

Do you have the same issue like me that after some time of applying lip balm and lip gloss there seems to be a thin layer of white stuff on the lips? Ladies, if you do - it means your lips are dry! Let me show you an old picture of mine.


The thin layer of white stuff is actually dead skin cells. And using lip balm alone is not good enough. Just like your skin your lips needs to be exfoliate and pampered with anti-oxidant that leaves your lips wrinkle free!

I highly recommend Kji’s World First 24hours Lip Spa (as I’ve personally tested and it really works!).


It cost around RM148 through online (you can purchase it in all SASA outlets like I did). And if you think is a little pricey, well it contains 3 items a “Lip Tattoo 1”, “Anti Age Lip 2”, and “Lip Masque Nite Treatment”.

I’ve been using it for some time, in fact, it’s already half empty. All I can say is I love it!


It leaves my lips less dry and flaky and more plump and juicy too :D

Let me show you its effects done to my lips.

Firstly, I use the “Lip Masque Nite Treatment” stick before sleep. I let it works its magic while I sleep. After I wake up, I simply wet my lips with water and gently rub of the dead skins cells with my finger tips.


The lip treatment moisturizes my lips like a lip balm and has micro beads (apparently those are crushed white tea trunk and peppermint seed oil) that help to exfoliate dead skin cells. I use it every night since my lips is very flaky. Now I have no more embarrassing moments of having dry chapped lips :)  

And now my lips are ready to be coloured!

I use “Lip Tattoo 1” over my lips. 


It’s actually a natural coloured lip stain. It gives me a sweet pink that is closes to my lip colour. According to Kji & Co, its staying power is 50% greater than normal lipsticks. It is mercury-and-lead-free and could be use as eye shadow and blusher too!

Once dried, I tried to stain it on a tissue with my lips and the tissue came out clean! 


Now for the shine part! I use “Anti Age Lip 2” (making sure that the lip stain is completely dried first).


It gives a real good shine like lip gloss but contains hyaluronic acid to plump up your lips and high vitamin C that acts as anti-oxidant to help reduce wrinkles on your lips.


Now I’m ready to go out and have fun with my shiny and plumped lips! :p

So what are you waiting for? Go try it yourself!


Monday 30 July 2012

How to make savoury buns?

I’ve been getting loads of compliment on the savoury buns I made as the texture is soft and fluffy. 

So here I am today decided to share my recipe of how to make bread dough that is suitable for all kinds of savoury.

All you need is only 6 ingredients to make the bread dough:
200g of bread flour
2 tbsp of sugar
½ tsp of salt
¾ tsp of instant dried yeast
140ml of milk
20g of butter cut in small cubes

Method:
1.) Sieve flour in mixing bowl and add in sugar, salt, and yeast.
2.) Whisk in milk into the mixture.
3.) Once dough is formed, remove from bowl to knead. Knead in butter into the dough for 20-25mins or until dough is pliable.
4.) Next, put the dough into a lightly buttered bowl and covered it with plastic wrap.
5.) Let the dough rise in a warm place for about an hour to 1 and a half.
6.) Your dough should rise double in size and you’re ready to roll out your dough and add savoury!

Here are some of the savoury buns I’ve made :)


BACON AND CHEESE WITH BUTTON MUSHROOM BUNS.
I simply roll out the dough into a square and add in stir fried bacon, onions and mushroom with salt and pepper. Then, I roll it into a long dough and cut into 8 pieces and place into paper cups. Sprinkle cheese and bake at 180celsius for 13-15 mins or until golden brown.

Next up is…                                                                                                                                                                                                                           


SAUSAGE WITH MOZZARELLA CHEESE BUNS
I roll out the bread dough and cut into 8 strips. I then roll into 8 small balls. Each ball I roll out again to wrap over a sausage. Squeeze some mayo on top and sprinkle mozzarella cheese, sesame seed and parsley flakes. Bake at 180celsius for 13-15 mins or untill golden brown.

Next up is…


HEART SHAPED TUNA BUNS
First, roll out the dough into a big square and cut into 9 small squares. Roll into 9 small balls and shape each into a heart shape. Place mayo tuna on top and sprinkle parsley flakes. Bake at 180celsius for 13-15 mins or untill golden brown.

Be creative! Anything goes! It can be any shape, size, or toppings. It doesn’t have to be savoury – it can be sweet buns like chocolate buns or even sweet corn buns!
Have fun and try it out yourself. All the best ;)


Saturday 28 July 2012

It’s time to clean your brushes!


Ever wonder when to clean your makeup brushes? Well, if you’re thinking about it – Ladies, it’s time to clean your makeup brushes!  Apart from the makeup we use, brushes breed just as much germs you can ever imagine! And more over having it to put it on your face, eyes, and lips everyday!


Let me show you my trophy of dirty brushes! :P


I used to clean my brushes with shampoo until one day my aunt gave me Bobbi Brown’s Conditioning Brush Cleanser as a gift! *muacks*

I simply love it.                                                                                                                                                                     


Why use BB’s conditioning brush cleanser?


Read on and I tell you why :)

I start off by squeezing only a few drops of gel like cleanser into the slightly warm water (you can use the water from your water heater).


After that, I simply soak it for 1-2 mins and then gently wash the brushes with my hands for the old stains. Most of the stains dissolve easily in the water unlike using shampoo!


Next, rinse brushes with cooled tap water to shrink back the brushes. Repeat this a few times until water is clear.


Squeeze off excess water from your brushes with your hands and place it on a clean towel to dab it dry.


Always remember to shape back your brushes using your fingers before you air dry. Also, make sure you place it flat to dry. The results? See it for yourself…


My brushes look as if it’s brand new! The hairs on my brushes are so soft and shiny compare to using shampoo!

I also did an experiment to see how effective it dissolves my makeup.


Pic.1- I decided to test on my lipstick, eye shadow, coloured eyeliner, and waterproof eyeliner.
Pic.2- I squeeze just 3 drops of Bobbi Brown’s conditioning brush cleanser.
Pic.3- To my surprise, most of the makeup removes in just first wipe only the waterproof eyeliner stays on a little.
Pic.4- After few wipes, my hand is clean!

My conclusion is waterproof eyeliner and old stains need to be soak longer and it really dissolves makeup faster than shampoo.  My brushes will now last longer with shinier, softer hair! 

*Tips on how to make your brushes lasts longer!


Doing so will cause the hairs from your brushes to fall off as the excess water will stays inside the brushes! You don’t want that to happen do you? ;)

Also wash your brushes gently, don’t put too much force to remove stubborn stains. Instead try soaking it a minute or two longer.

So ladies, who say you can’t stay loyal to your brushes?


Thursday 26 July 2012

3 Coloured Artificial Acrylic Nails


I usually do two tone colours on my real nails and I find it difficult to do 3 tone colours on real nails as my nails aren’t really that long. That’s why I decided to do it on artificial acrylic nails as it is wide and long. The plus side of it is that nail polish dries faster on artificial acrylic nails than on your real nails and you can still do other stuffs while waiting for it to dry :)

So here’s what you need:


1. Artificial acrylic nail tip (you can get from any DIY nail stall or Japanese store)
2. Cardboard
3. Double sided tape
4. 3 different coloured nail polish (Any colour but you’ll need one to be light colour)
5. Top coat nail polish in clear
6. Thin tip brush
7. Rose nail décor (optional)
8. Nail glue
9. Toothpick (not in pic.)

Step 1:
You’ll need to find the right size. Make sure each of the artificial acrylic nails fits perfectly to your real nails.

*tips: You can use both sides depending whether you prefer rounded or square nails. Simply buffer the tips if you’re using the square side on top.


Step 2:
Apply double sided tape onto the cardboard and stick the artificial acrylic nail tips onto it. This to prevent it from moving while you paint the nails.


Step 3:
Use the lightest colour nail polish to paint it over the nails. I use light pearl pink.


Step 4:
Make sure the pearl pink nail polish is dry first and then paint 1/3 of the nails with another colour. I use shimmer orange nail polish.

*tips: to make it straight use a sharp thin brush to paint the edges.


Step 5:
Do the same for the third colour. I use deep pink nail polish.


Step 6:
Now that you have all three colours, wait for it to be completely dry and apply topcoat.


Step 7: (optional)
Use nail glue to glue on nail decors! It can be anything you like. I use rose decors.


Step 8:
Leave it overnight to dry and remove it by scraping off the side excess of the nail polish first using a toothpick.


Step 9:
Wear it! :) Apply glue to your artificial acrylic nails and paste it to your nails by pushing downwards and inwards.

*tips: paint your nails with base coat first and let it dry before wearing artificial acrylic nails. This is to avoid damage to your real nails.


Practice makes perfect. I’ve made another in candy colours.


I’ve painted yellow first. Then, I apply a few layers of peppermint green and followed by jellybean pink.

Hope you’ll have fun painting 3 layer coloured nails. Good luck :)


Thursday 19 July 2012

Summer Bikini

Kendall Jenner, Rihanna, Ashley Tisdale
(photos adapted from eonline)


It summer time and it's time to hit the beach!

Have you got everything you need?

Sunscreen lotion check. Sunshades check. Towels check. Surf board check. Hair done. Nails done.

Wait a minute, what about my bikini! OMG! I forgot to get one this season.

So off you go to nearest departmental store and find yourself with all sorts of bikini. Great. Now what colour should I get?

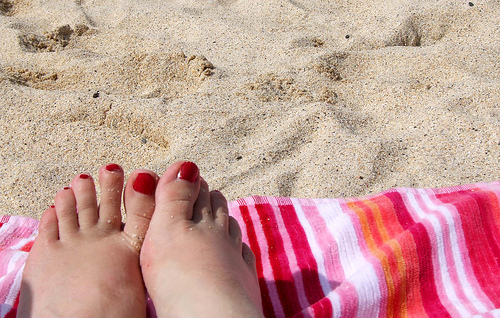
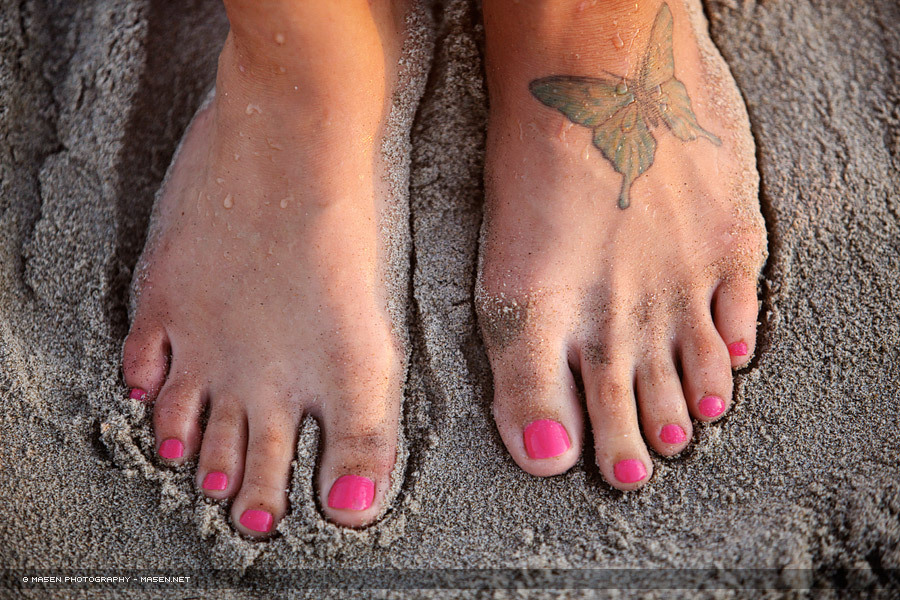
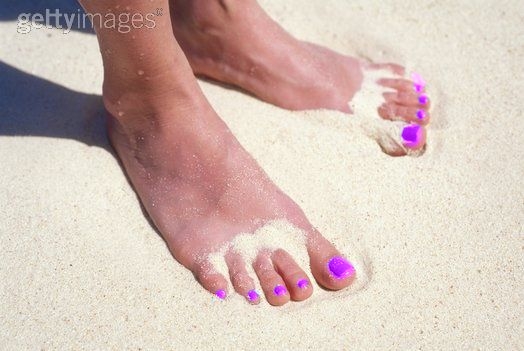
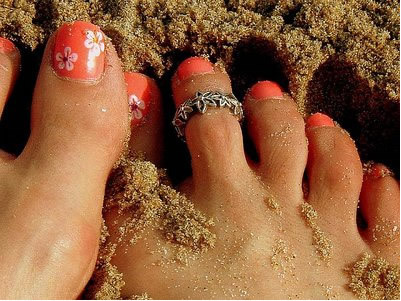
Fred not. Check your toe nail colours! :)

Simply answer the question of what colour toenails complete your beach look (source from www.fanpop.com)! To check out your bikini look personality.
Is it

Red?


Light pink?


Natural?


Dark pink?


Purple?


or Orange?


If you pick...

Red 
You Should Wear A Black Bikini  
You're too sophisticated to be a typical beach bunny. 
But you may need a bikini to wear to a swanky pool party! 

~~~~~~~~~~~~~~~~~~~~~~~~~~~~~~~~~~~~~~~~~­~~~­
Light Pink 
You Should Wear a Pink Bikini  
Flirty and feminine, you love hanging out at the beach - but not so much sand in your toes. 
Of all the colors, you're the most likely to have a killer bikini collection. 
~~~~~~~~~~~~~~~~~~~~~~~~~~~~~~~~~~~~~~~~~­~~~­
Natural 
You Should Wear a White Bikini  
You have the genes to be the ultimate beach beauty, from your golden tan to your natural sun kissed highlights. 
You don't need a fancy bikini to prove that you've got it going on. 
~~~~~~~~~~~~~~~~~~~~~~~~~~~~~~~~~~~~~~~~~­~~~­
Dark Pink 
You Should Wear a Blue Bikini 
A natural beauty and flirt, you feel at home both on the beach and in the ocean. 
And you got your bikini body the old fashioned way... staying active in the sun! 
~~~~~~~~~~~~~~~~~~~~~~~~~~~~~~~~~~~~~~~~~­~~~­
Purple 

You Should Wear an Orange Bikini  
You're the kind of girl who usually likes to leave more to the imagination. A bikini isn't really your style. 
However, once in a while you find a bikini so unique and stylish that you just have to wear it! 
~~~~~~~~~~~~~~~~~~~~~~~~~~~~~~~~~~~~~~~~~­~~~­
Orange 
You Should Wear a Yellow Bikini  
Like the sun, you radiate warmth and brighten up everyone's day. 
And while a yellow bikini is a bit strange, you have the perky personality to wear one!


So what you waiting for? Go get the right bikini now! :p